In my last post I described how to create Infoblox DNS host records using the vRealize Orchestartor (vRO) HTTP-REST plug-in. One of the use cases I presented at the end of this post was to create a vRealize Automation (vRA) advanced service to provide creating Infoblox DNS records as a vRA catalog item. A day after that post I was asked to present on vRA and since we’ve been working with Infoblox a lot lately, I thought that this is something I could show.
Modifying the original workflow
Since I’ve already detailed how to create the workflow, I’m not going to cover it again, but we will have to modify the inputs of the workflow so that it makes more sense when calling it from vRA. We can start off at section Modifying the workflow in the previous post. Instead of having a single input named content with the full payload of our REST request, let’s go ahead and change it so that we have two inputs: hostname & ipaddress. I’m not going to cover in detail how to add/modify attributes and other changes to the workflow. It’s pretty tedious, I’m in a hurry, you probably already know how or can find the info in one of the previous posts or online.
Right-click the workflow and select Edit.
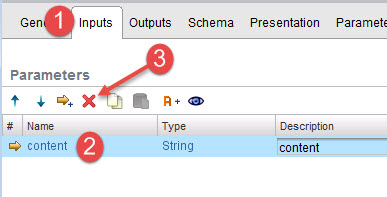
Select the Inputs tab, highlight the content attribute and click delete.
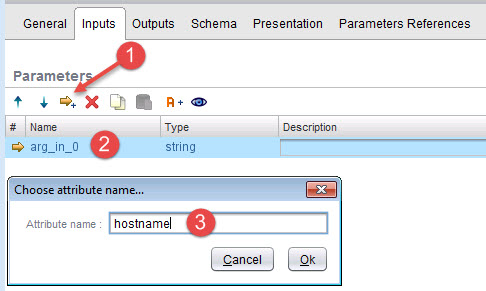
Select Add Parameter, select arg_in_0 and give the attribute a name of hostname.
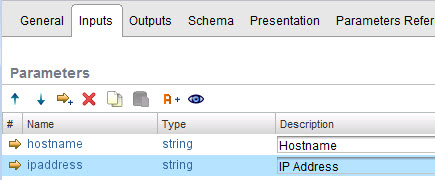
Enter Hostname in the description field. Repeat this step for the ipaddress parameter so that it looks like:
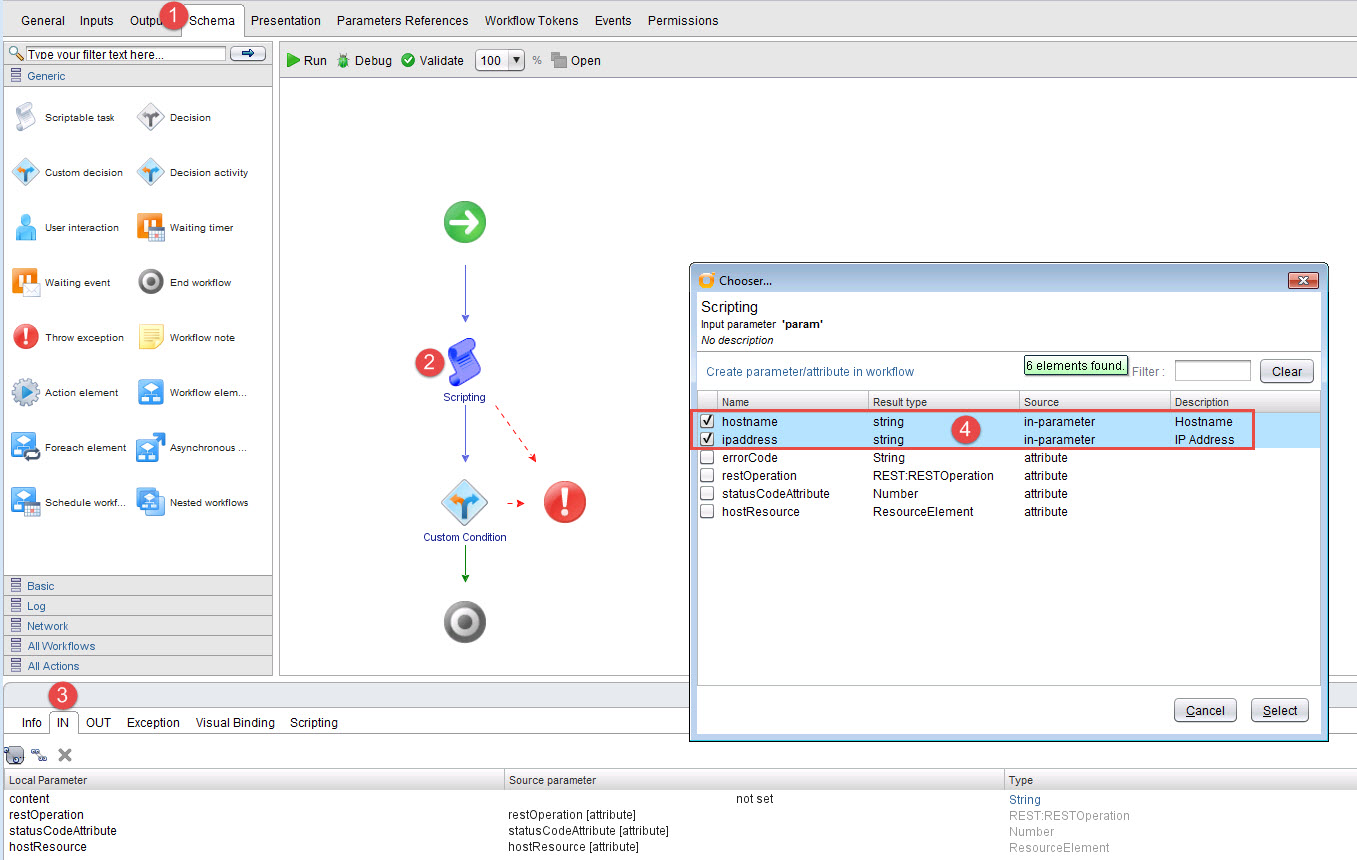
Now we need to bind these inputs to our Scripting workflow element. Select the
- Schema tab
- Scripting workflow element
- In tab
- Check hostname and ipaddress and press Select.
With the Scripting workflow element still active, select the Scripting tab and add the following line of code:
var content = ‘{“ipv4addrs”:[{“ipv4addr”:”‘ + ipaddress + ‘”}],”name”:”‘ + hostname + ‘”}’
The content variable is the REST payload we will be sending to the Infoblox server. Previously this was passed in as an input in its entirety. Now we are building the content variable up via the ipaddress and hostname inputs. The rest of the code is the same as in the previous post.
Now you can save and close the workflow.
Creating the vRA Advanced Service
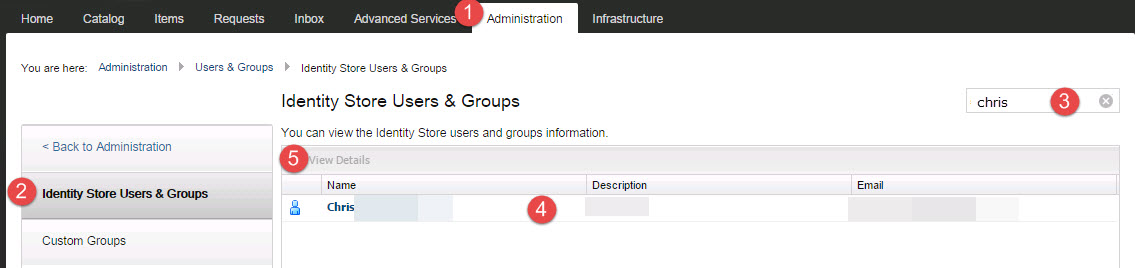
Access the vRA portal and select the Advanced Services tab. If you don’t see this tab, perform the following:
- Select Administration
- Identity Store and Users & Groups
- Enter your user id.
- Select your user id.
- Select View Details
On the next screen check Service Architect and press update. If you reload the browser, you should see the Advanced Services tab. I don’t know vRA permissions too well so if you still don’t see it, try to give yourself more permissions.
Select
- Advanced Services
- Service Blueprints
- Add
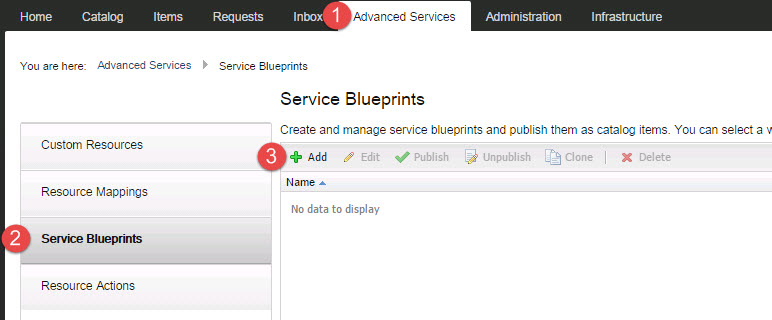
From here we can browse to the vRO workflow we previously created and select next.

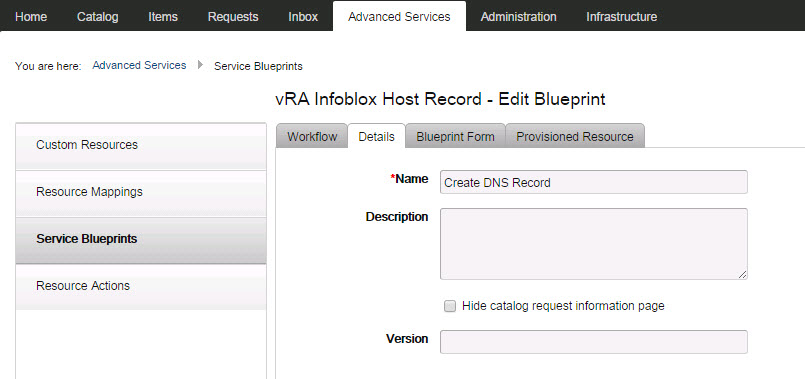
Name the service and press next.
You don’t have to do anything on the next screen, but notice how it created fields for the Hostname and IP Address that it pulled from the workflow’s inputs.
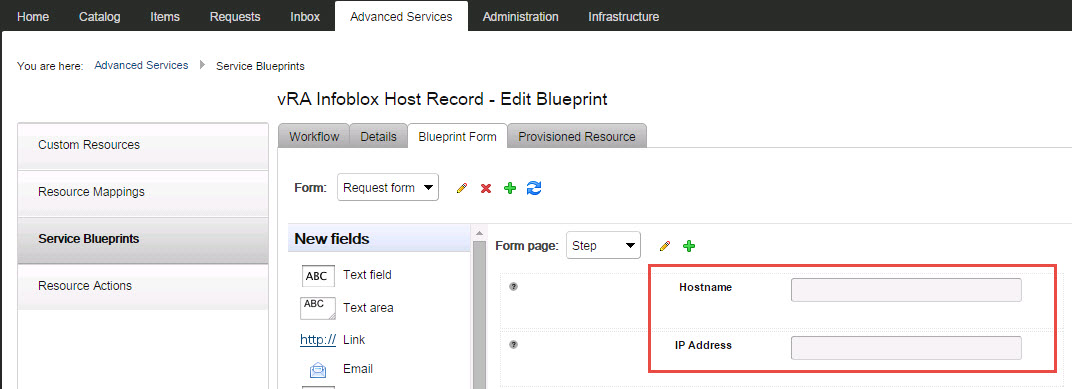
On the next screen press Add.
Creating a Catalog Item
We need to publish the service blueprint so that it becomes visible as a catalog item. Highlight the new blueprint and select Publish.
 Select
- Administration
- Catalog Management
- Catalog Items

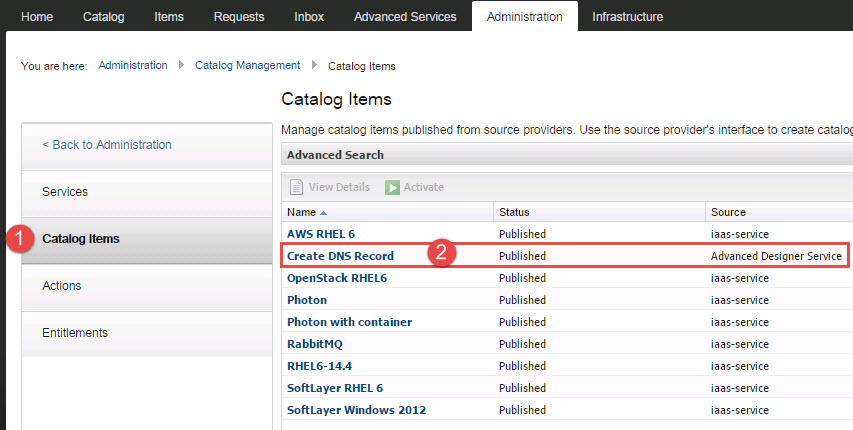
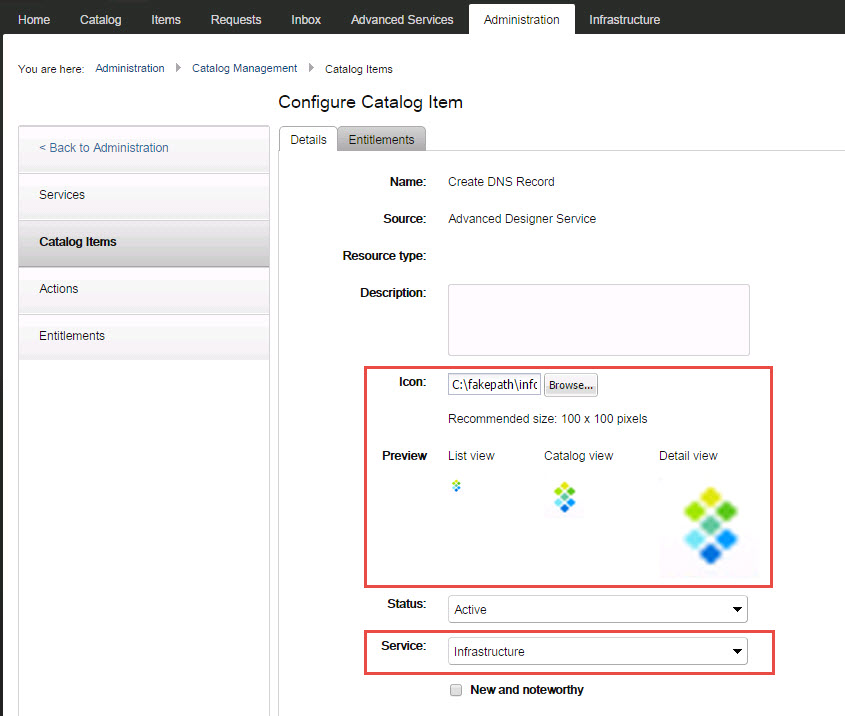
Now our service blueprint is available as a catalog item and has a source of Advanced Designer Service. Select Configure.
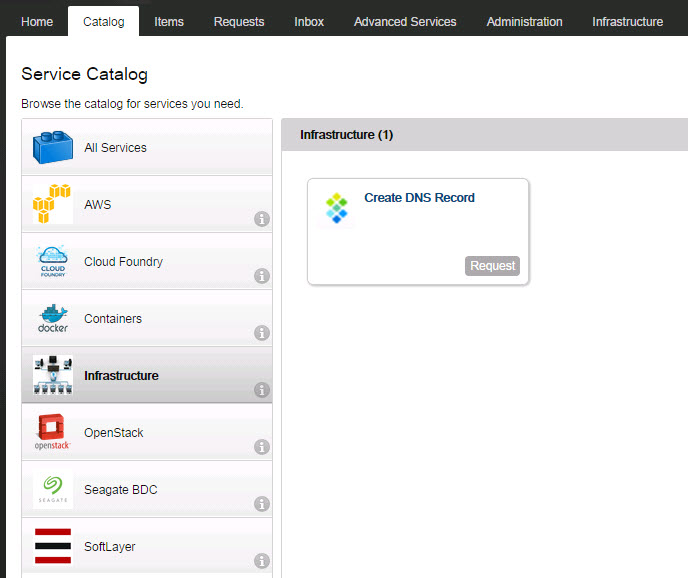
Here I’ve added an Infoblox icon and added the catalog item to the Infrastructure service.
You can manage services by clicking the Services menu item under the Administration tab.
Add an entitlement to the service/catalog item
If your user account doesn’t already have access to the service where you placed the catalog item or you did not place the catalog item into a service, you’ll need to add an entitlement.
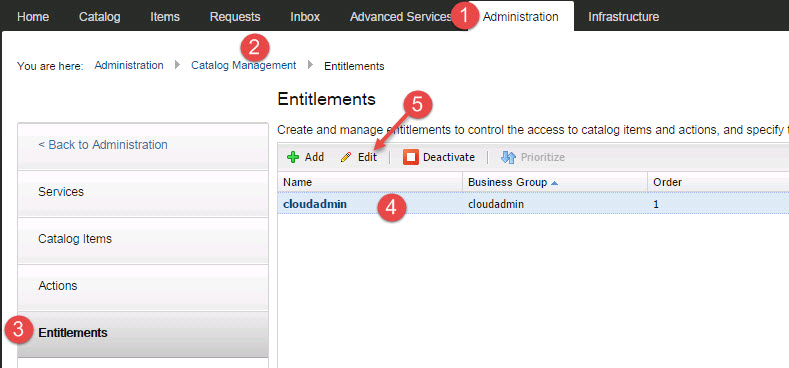
Select.
- Administration
- Catalog Management
- Entitlements
- The business group your in
- Edit
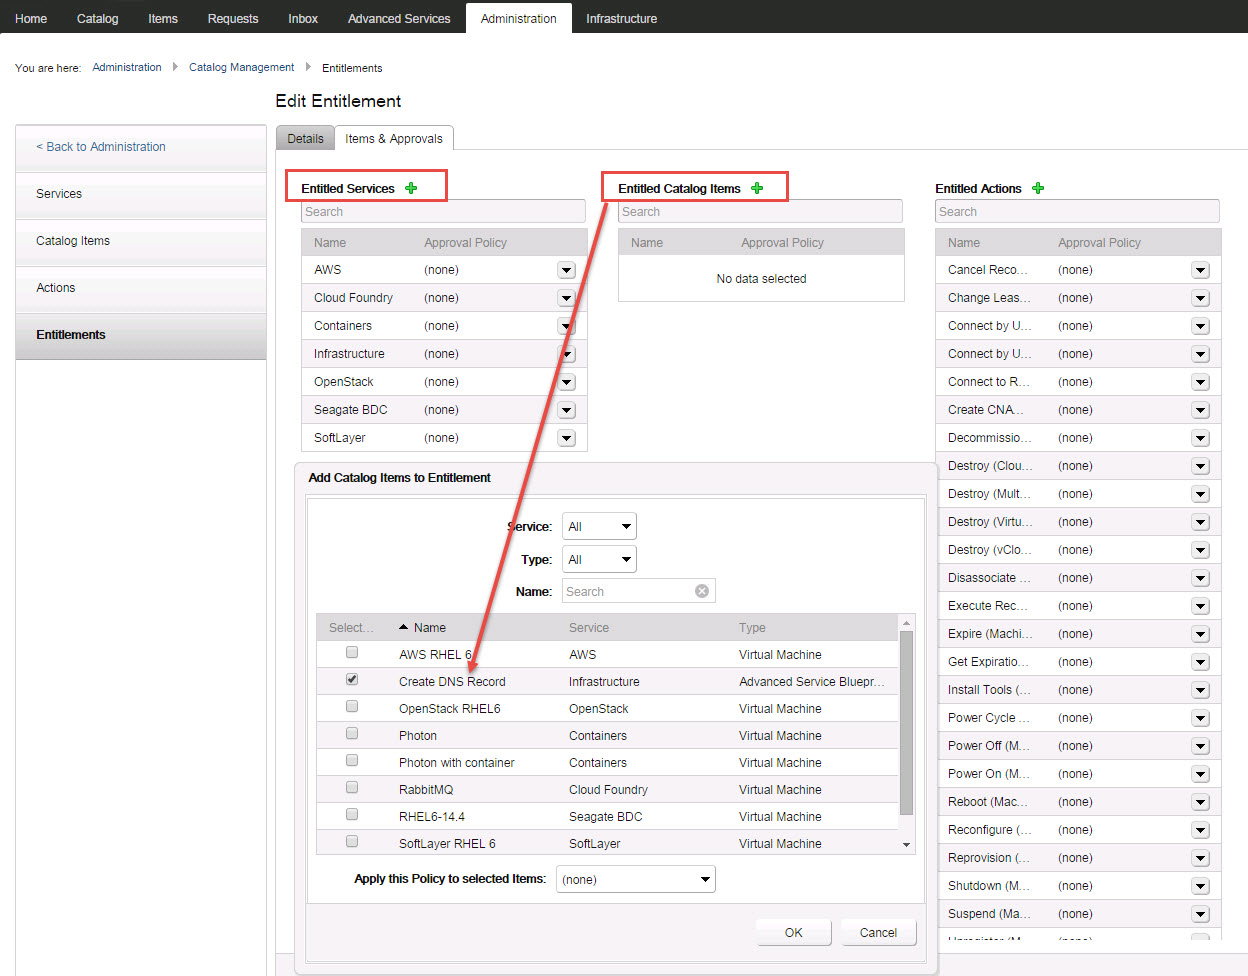
Either add the service where you placed the catalog item or add the catalog item individually:
Requesting the catalog item
Now we are ready to request the catalog item from the Catalog tab. Simply select Request on the Create DNS Record item.
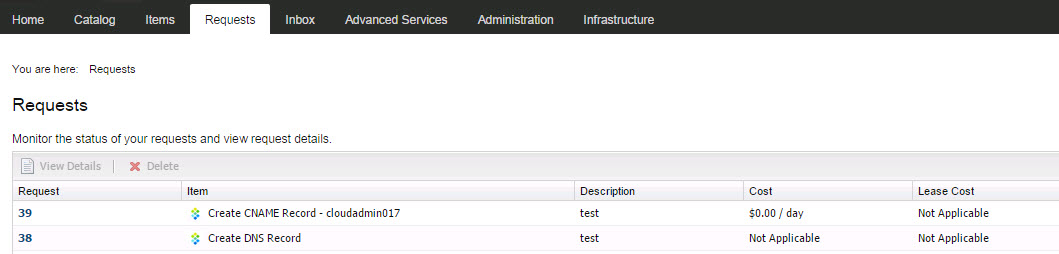
Give the request a description. Fill in the details and press submit.

You can see the status of your request on the Requests tab.
You will also see the workflow run in vRO:
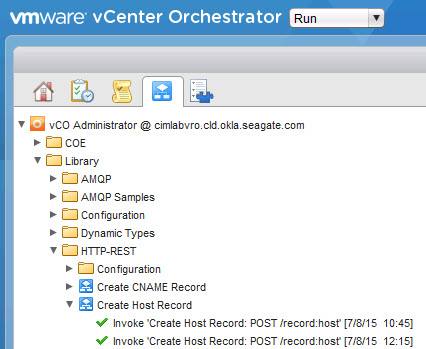
The new DNS record should now be in Infoblox.
