Overview
In this post I’ll show to install Stackato 3 micro appliance using the xip.io wildcard DNS service. Using xip.io can be useful in a lab or any situation where you need wildcard DNS but don’t have access to a DNS server.
Stackato is ActiveState’s PaaS solution. More can be found at http://www.activestate.com/stackato
You can find out more about xip.io at http://xip.io/
Download the Stackato 3 appliance
Download the appropriate image at http://www.activestate.com/stackato/download_vm?utm_source=betalandingpage&utm_medium=website&utm_term=&utm_content=topbutton&utm_campaign=Beta30
The vSphere version can be downloaded from here: http://downloads.activestate.com/stackato/vm/v3.0.1/stackato-vm-vsphere-v3.0.1.zip
Stackato docs: http://docs.stackato.com/3.0/index.html
Deploy the appliance
Deploy the appliance into your vSphere environment as you would any OVF/OVA.
Access the VM console. Credentials are stackato / stackato
Alt-f7 shows boot processes.
Alt-f1 gets you back to the main screen.
Configure the appliance
Set a static IP by running the kato op static_ip command and provide the IP information. In this deployment, the IP is set to 192.168.3.58.

By using xip.io, *.192.168.3.58.xip.io will resolve to 192.168.3.58 so let’s rename the node to 192.168.3.58.xip.io with the kato node rename 192.168.3.58.xip.io command.
Since we are no longer using a local DNS address we need to remove the mds role with kato role remove mdns command.
Now the Stackato instance can be accessed at https://192.168.3.58.xip.io.
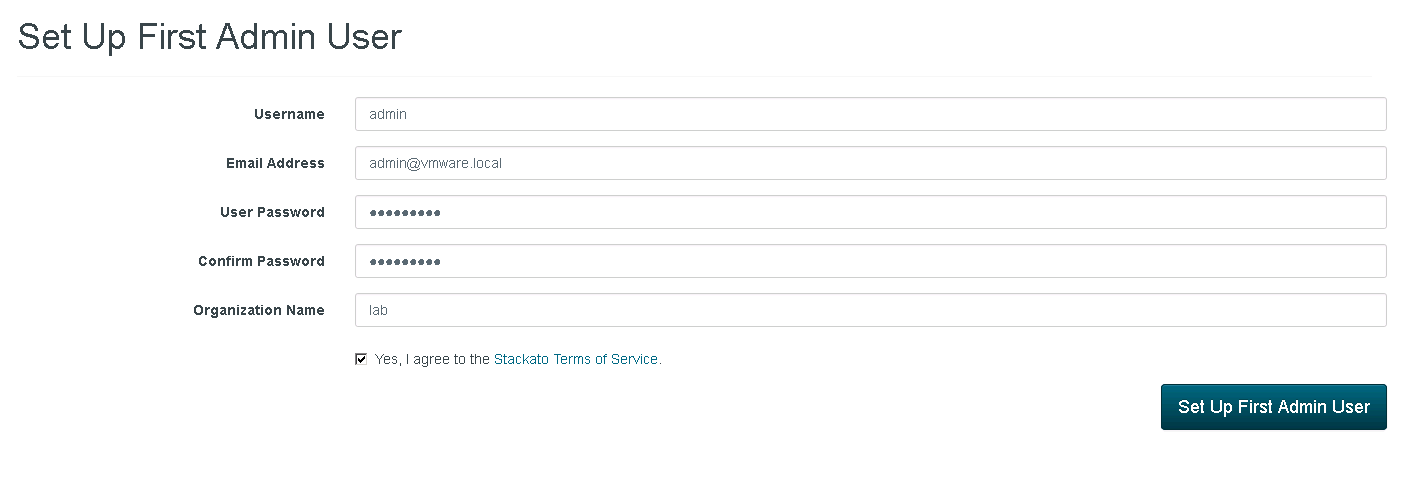
You will be prompted to set up the admin user:
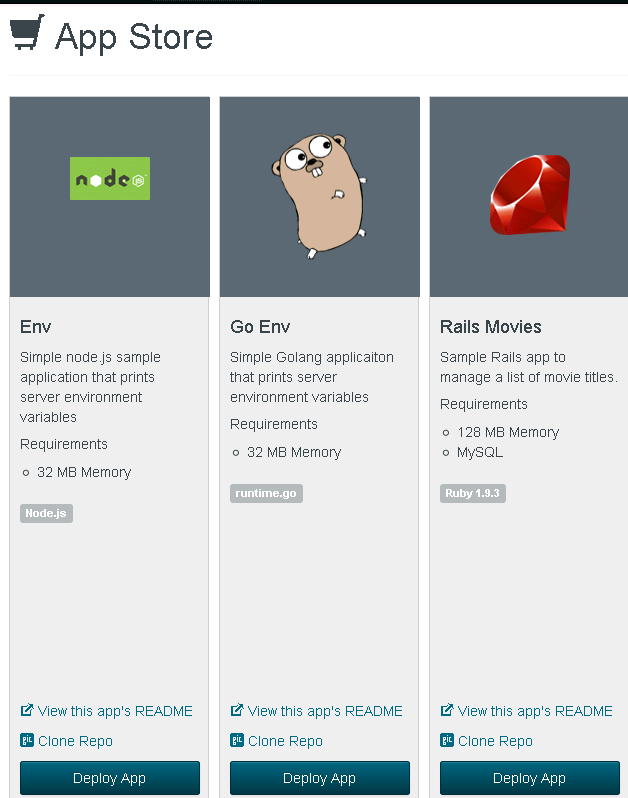
From here you can click on the app store and choose any of the apps. I’m going to use the Rails Movies app. Select “Deploy App” for Rails Movies.
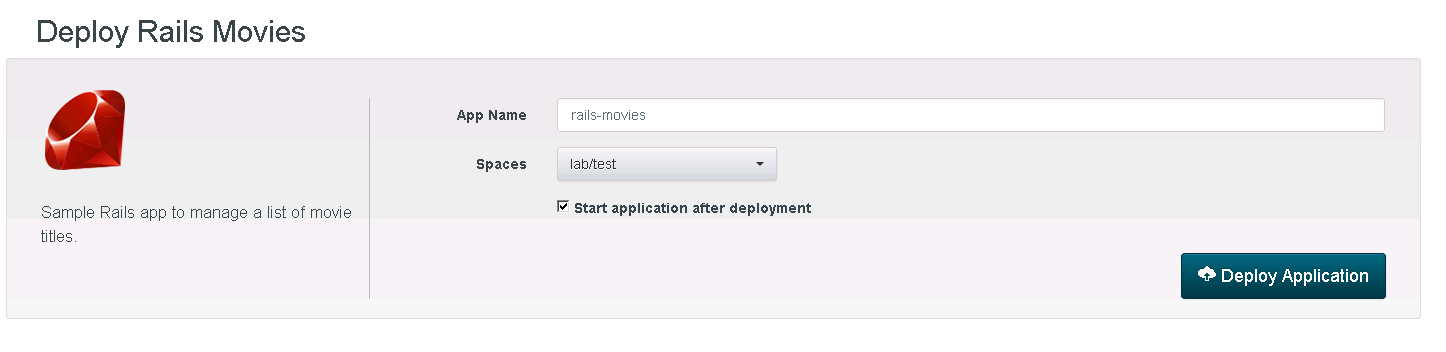
Give the app a name select “Deploy Application”
If everything goes well, you’ll see the following:
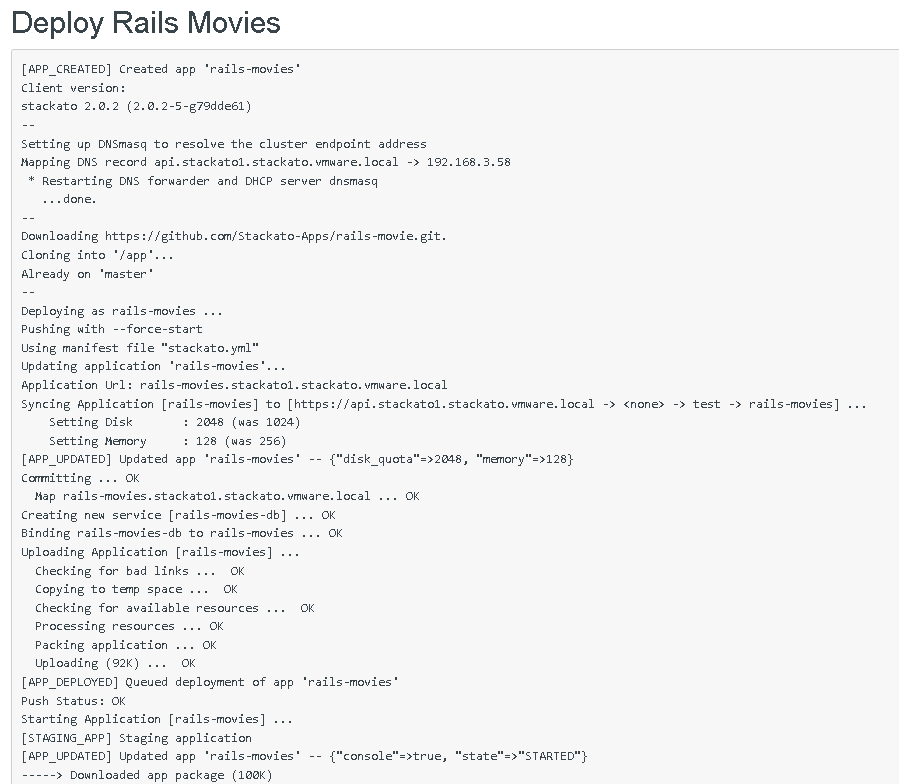
The application can now be accessed at http://rails-movies.192.168.3.58.xip.io
In the Stackato UI you can get the app by going to Organizations > Your org > Space > Apps > rails-movies > Routes > select site link
