In this post I’m going to show how to create an Ingress in PKS. I’m going to deliberately keep it as simple as possible so don’t expect anything fancy.
I’ll start by creating a Docker container that runs a web server written in Golang:
main.go
package main

import (
    "fmt"
    "net/http"
)

func homeHandler(w http.ResponseWriter, r *http.Request) {
    w.WriteHeader(http.StatusOK)
    fmt.Fprint(w, "home")
}

func usersHandler(w http.ResponseWriter, r *http.Request) {
    w.WriteHeader(http.StatusOK)
    fmt.Fprint(w, "users")
}

func main() {
    http.HandleFunc("/home", homeHandler)
    http.HandleFunc("/users", usersHandler)
    http.ListenAndServe(":8181", nil)
}
All we are doing is here is creating a web server that will display “home” if they go to /home or “users” if they go to /users.
Dockerfile
Dockerfile that we will use to build the image:
FROM golang:1.10
WORKDIR /go/src/app
COPY . .RUN go get -d -v ./…
RUN go install -v ./…CMD [“app”]
EXPOSE 8181
Build the image
docker build -t=chrisgreene/pks-ingress:v3 .
Push the image to Docker Hub
docker push chrisgreene/pks-ingress:v3
Deployments
We will create two deployments: one for home and one for users. They will both use the same pks-ingress image. You could also reference different images for each deployment. For example, you could create multiple web servers where one served /home and the other served /users and make multiple images.
Be careful when pasting in the contents below and make sure the indentation reminds intact as yaml is space sensitive.
home-deployment.yaml
apiVersion: apps/v1
kind: Deployment
metadata:
  name: home
spec:
  replicas: 1
  selector:
    matchLabels:
      app: home
  template:
    metadata:
      labels:
        app: home
    spec:
      containers:
      - name: home
        image: chrisgreene/pks-ingress:v3
        ports:
        - containerPort: 8181
users-deployment.yaml
apiVersion: apps/v1
kind: Deployment
metadata:
  name: users
spec:
  replicas: 1
  selector:
    matchLabels:
      app: users
  template:
    metadata:
      labels:
        app: users
    spec:
      containers:
      - name: users
        image: chrisgreene/pks-ingress:v3
        ports:
        - containerPort: 8181
Create the deployments by running:
kubectl create -f home-deployment.yaml
kubectl create -f users-deployment.yaml
Services
Now we need to create a home and users service so that we can expose our deployments:
home-svc.yaml
apiVersion: v1
kind: Service
metadata:
  name: home
  labels:
    app: home
spec:
  ports:
  - port: 80
    targetPort: 8181
    protocol: TCP
    name: http
  selector:
    app: home
users-svc.yaml
apiVersion: v1
kind: Service
metadata:
  name: users
  labels:
    app: users
spec:
  ports:
  - port: 80
    targetPort: 8181
    protocol: TCP
    name: http
  selector:
    app: users
Create the services by running:
kubectl create -f home-svc.yaml
kubectl create -f users-svc.yaml
Ingress
Now that we have our two services we can create our ingress that will expose these services through HTTP endpoints. Here if a user accesses /home, they will be directed to the home service:
ingress.yaml
apiVersion: extensions/v1beta1
kind: Ingress
metadata:
  name: ingress-demo
spec:
  rules:
  - http:
      paths:
      - path: /home
        backend:
          serviceName: home
          servicePort: 80
      - path: /users
        backend:
          serviceName: users
          servicePort: 80
Create the ingress by running:
kubectl create -f ingress.yaml
NSX-T
Let’s take a look at what NSX-T looks like when we spin up a Kubernetes cluster. After logging into the NSX-T manager, we can see that a load balancer was spun up for us:
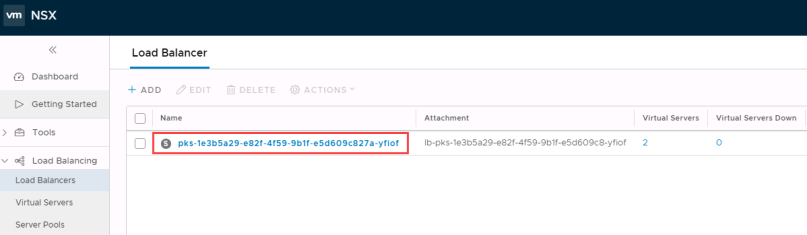
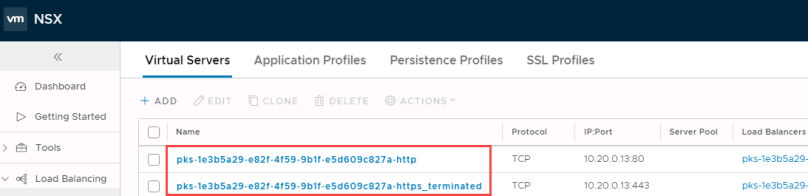
The load balancer initially contains two virtual servers. One for HTTP traffic and another for HTTPS:
A new load balancer will be created for each cluster. If you’re curious, these objects are created by the nsx-ncp pod that runs in the pks-infrastructure namespace.
After we create our ingress object, we will see that two new server pools have been created:
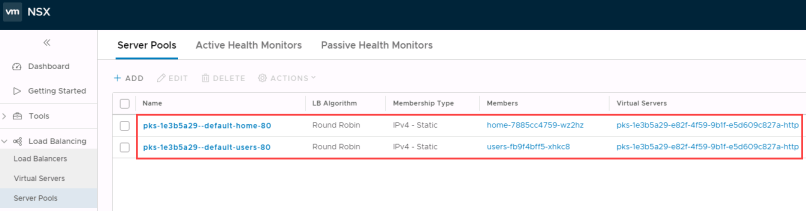
These pools are associated with the default virtual server’s IP.
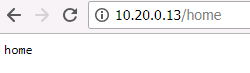
Now if we go to the /home path segment. we will see:
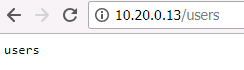
If we go to /users, we will see: