A few days ago Rancher Labs released Rancher 1.0 so I’d thought I’d take it for a test drive. This is the first time I’ve worked with a product like this so this post will be really basic, but if this is the way things are going, it’s pretty amazing. Take a moment to check out their site and watch the “See Rancher in Action” video. The speaker sounds like a cowboy so you can imagine me talking like a cowboy for the rest of this post. I’m going to show how to deploy an application named Rocket Chat, which is like Slack. In my next post on Rancher I’ll show how to deploy Kubernetes using Rancher and then deploy and an application on Kubernetes.
Installation
I’m going to mainly be following the Quick Start Guide
I started with a Ubuntu 12.04.5 LTS VM running on ESXi 5.1. My VM’s name is rancher1a.vmware.local with an IP of 192.168.3.168.
First let’s update the OS:
sudo apt-get update
sudo apt-get upgrade
Install the latest version of Docker by using the following commands or using Docker’s Instructions.
curl https://get.docker.com/ > docker-install.sh
Check out the docker-install.sh script to see what it’s doing.
chmod 700 docker-install.sh
./docker-install.sh
Adding myself into the docker group:
sudo usermod -aG docker chris
Start the Rancher server
We will run the Rancher server in a container by running:
sudo docker run -d –restart=always -p 8080:8080 rancher/server
Verify that the container is running:

Now I can access Rancher by going to http://rancher1a.vmware.local:8080. You’ll be logged in automatically and will see the screen where you can add your first host:
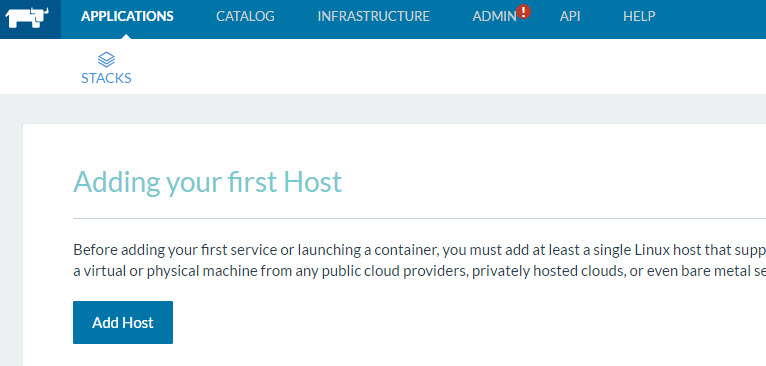
Go ahead and select Add Host and we see that the VM that is running Rancher has been pre-populated. For this demonstration I’m going to leave things as is and press Save.

On the next screen, I’ll perform the following:
- Enter the IP of the VM where Ranch is running.
- Select the copy button
- Paste the copied text into the terminal running your Rancher container.
- Select Close

Let’s verify that the Rancher agent container is running:

Now go to:
- Infrastructure
- Hosts
- View the newly added host
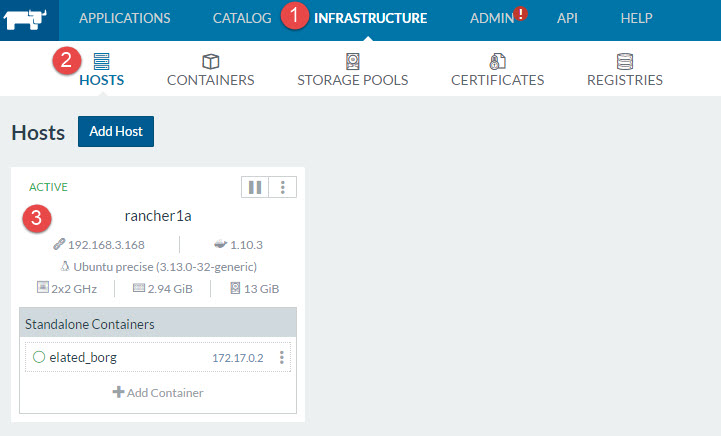
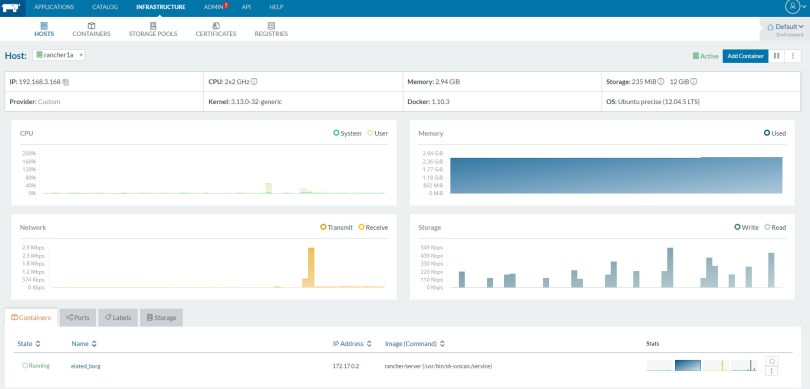
You can click on the hostname and view a bunch of info:
Launching an App
We can view the built-in catalog by going to Catalog > All
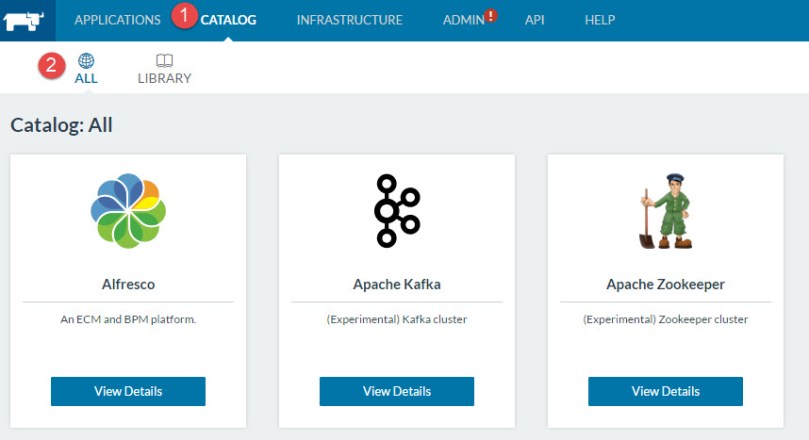
Let’s deploy the RocketChat app by selecting View Details:
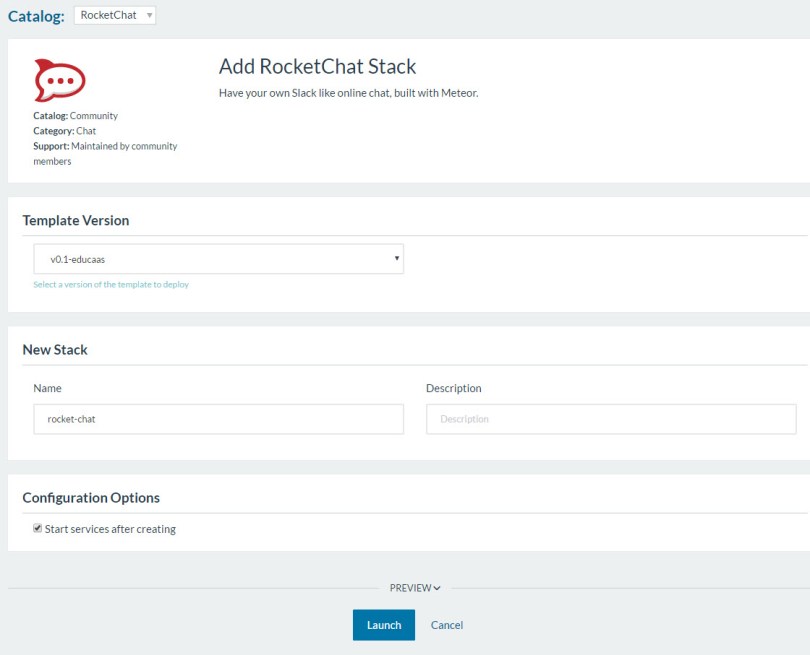
I’m going to leave everything at the defaults and select Launch:
You should be redirected to Applications > Stacks where you can see the application starting up:
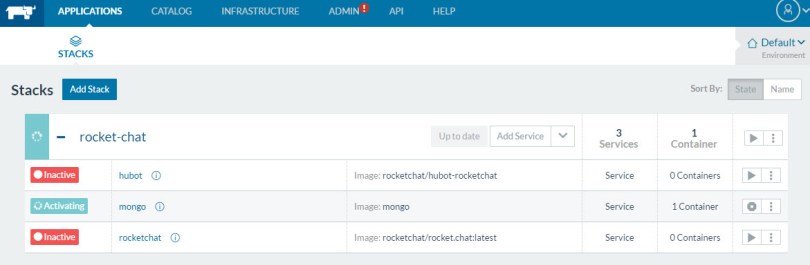
At this point I like to switch over to the terminal that’s running the Rancher container and run the sudo watch docker ps command so that I can see the containers coming online.

It shouldn’t take long for everything to become active:
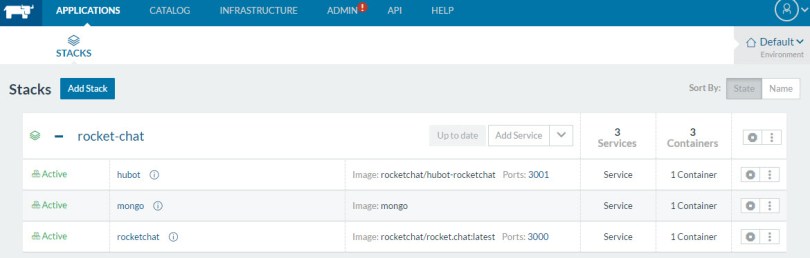
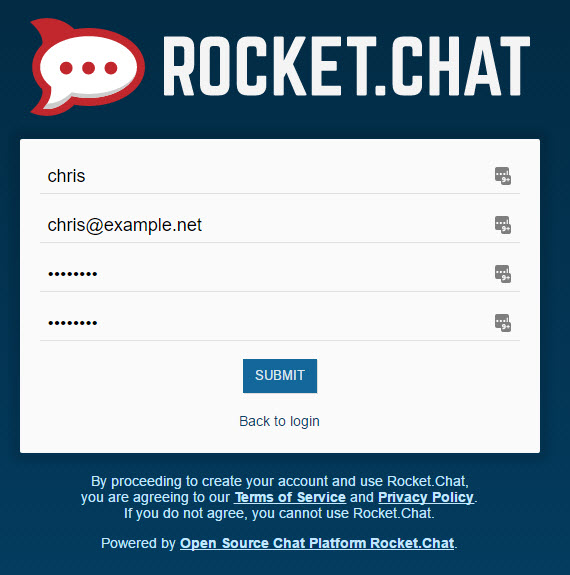
Now I can access the Rocket Chat instance at http://rancher1a.vmware.local:3000. From here you need to register for a new account:

Fill in some info. The email address doesn’t have to be real:
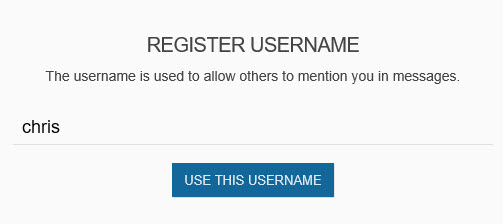
Acknowledge the warning that pops up and select a username:
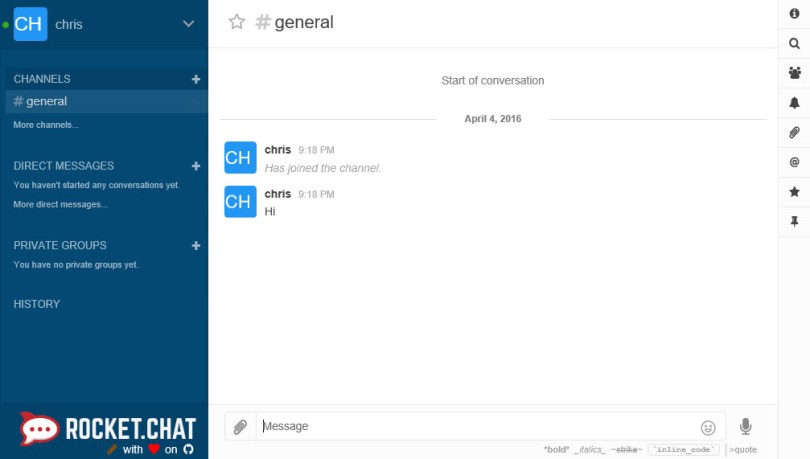
You’ll be logged in where you can begin using the application:
The WordPress app is also simple to deploy so you may want to try that as well.
