In a previous post I showed how to deploy Rancher. In this post I want to show how to deploy Kubernetes with Rancher and then deploy a simple application on top of Kubernetes. Please refer to the previous post for installation procedures for what OS to use and how to install docker. You can read up to “Start the Rancher Server” of that post and then come back to this post.
Starting the Rancher Server
You can skip this step if you’ve already started the Rancher server from the previous post. If not, let’s grab the latest version of Rancher and start the container. If you’re copying and pasting, make sure that there are two dashes before restart in the command below. Sometimes when I was copying and pasting the dashes would get converted into a single dash and the command would fail:
sudo docker run -d –restart=always -p 8080:8080 rancher/server
Now you should be able to access the Rancher application by opening a web browser and hitting the IP/URL of the VM where the Rancher container was launched.
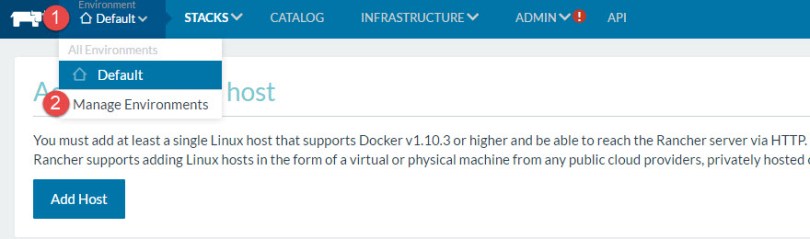
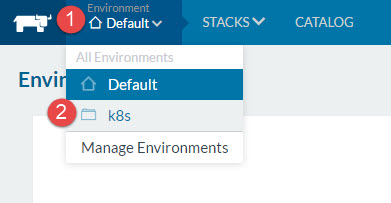
We need to create a new environment so let’s:
- Highlight Default Environment
- Select Manage Environments
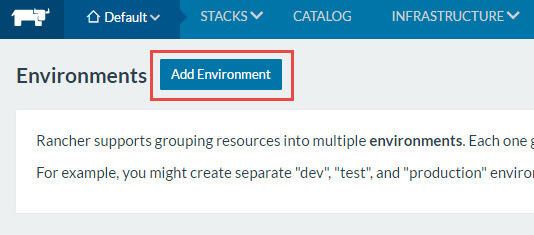
Create the kubernetes environment
Select Add Environment
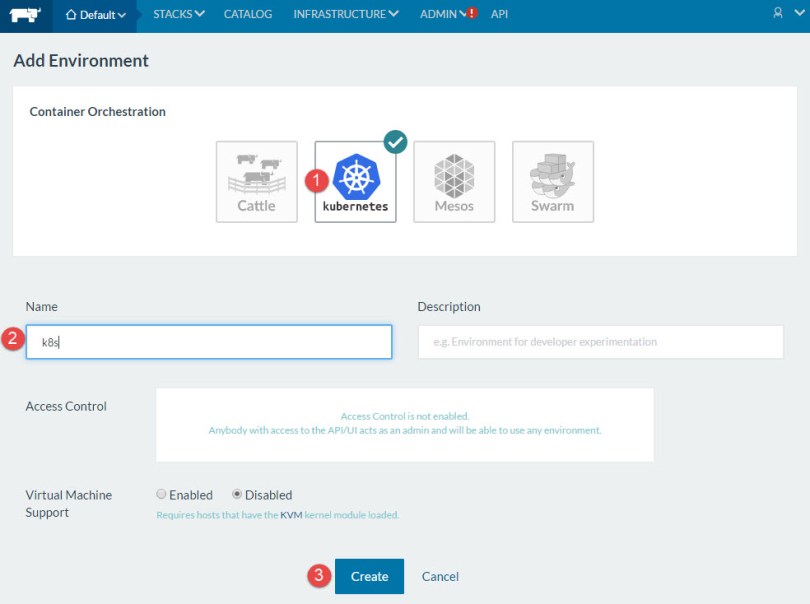
- For Container Orchestration select kubernetes
- Provide a name
- Press Create
To access the Kubernetes environment,
- Highlight Environment Default
- Select k8s
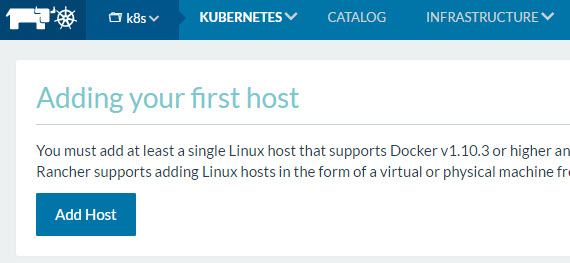
Let’s go ahead and add the first host by selecting Add Host:
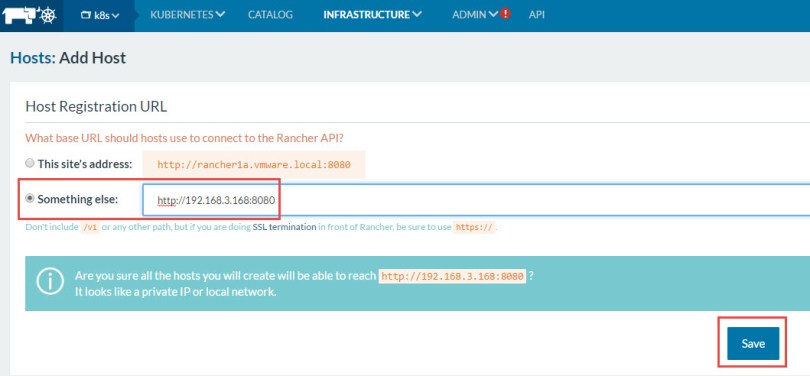
On the next screen I’m going to use the IP address of the VM running my Rancher container to make things simpler by not having to worry about name resolution.
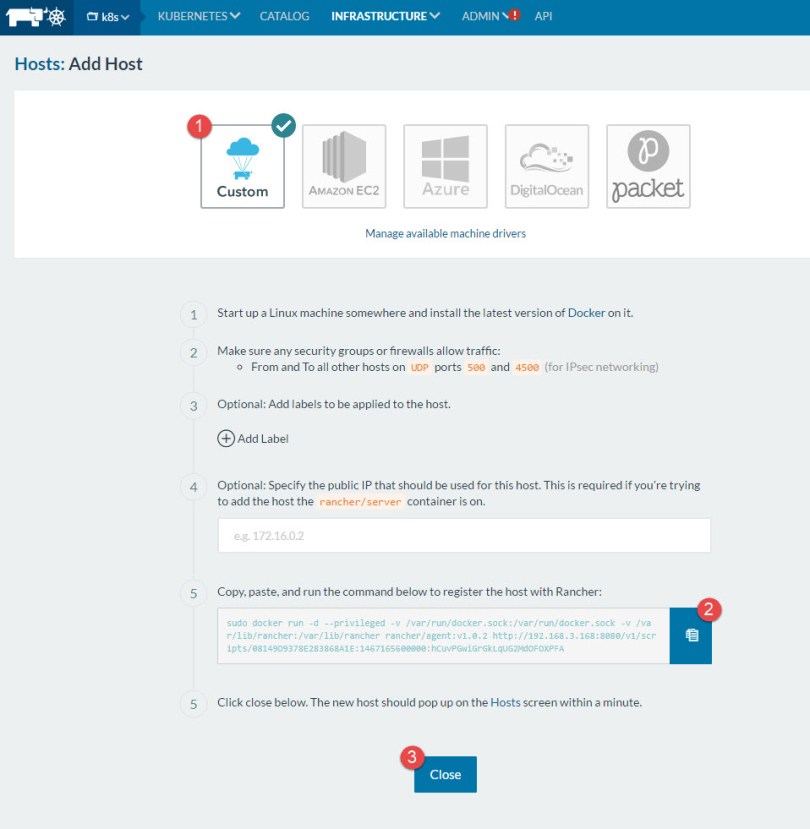
On the next screen:
- Leave the host type as custom
- Select the clipboard to copy the command
- Press close
- Paste the command into the CLI of your VM running the Rancher container
 Docker should pull down the Rancher agent container:

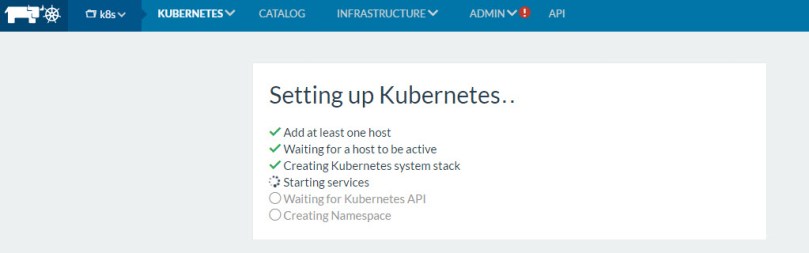
Kubernetes is now starting:
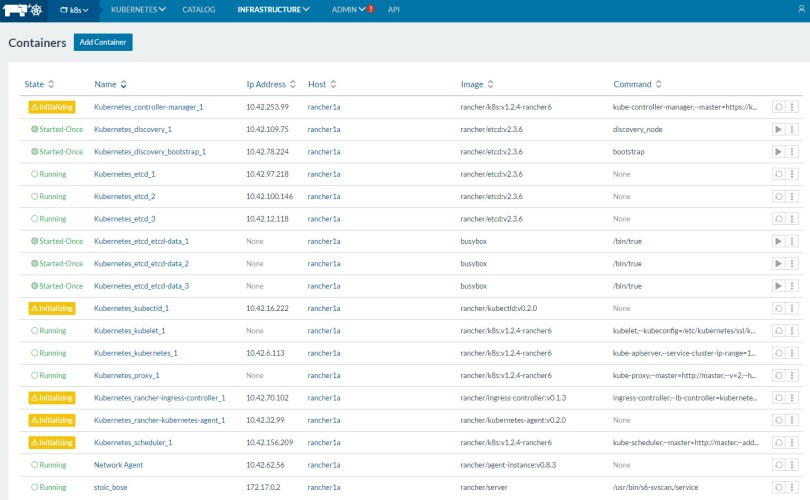
If you want to see more details or troubleshoot an issue, select Infrastructure > Containers:
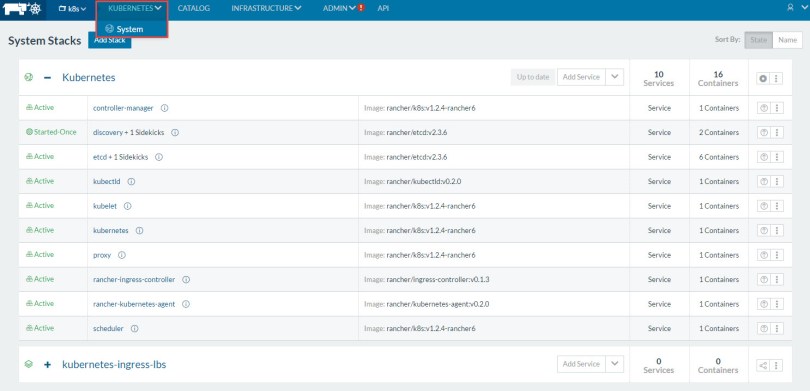
Select Kubernetes > System to view all of the Kubernetes services:
Launching a web server on Kubernetes
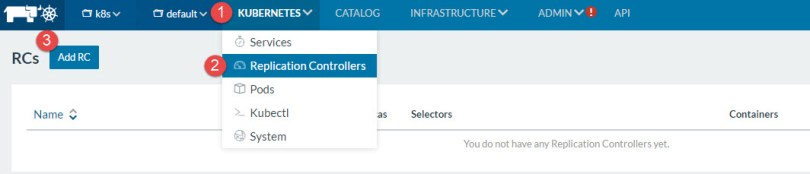
Now we are going to run a simple nginx server. Let’s first start by creating a new Replication Controller by selecting:
- Kubernetes
- Replication Controllers
- Add RC
Paste in the following:
apiVersion: v1
kind: ReplicationController
metadata:
name: nginx
spec:
replicas: 2
selector:
app: nginx
template:
metadata:
name: nginx
labels:
app: nginx
spec:
containers:
– name: nginx
image: nginx
ports:
– containerPort: 80
To find out more about replication controllers, I’d suggest reading about them here, but I’ll cover a few things:
- Replicas states that we want two containers running nginx
- We apply the label app: nginx. This can be used to select the containers later.
- image: nginx specifies the name of the docker iamge to pull down
- We are going to expose port 80 on the container.
It shouldn’t take too long for both of the containers to be running. Notice the IP addresses. These IPs most likely won’t be accessible from your machine so you won’t have a way of accessing the nginx web server.

We can access our nginx web servers by exposing them via a Kubernetes Service.
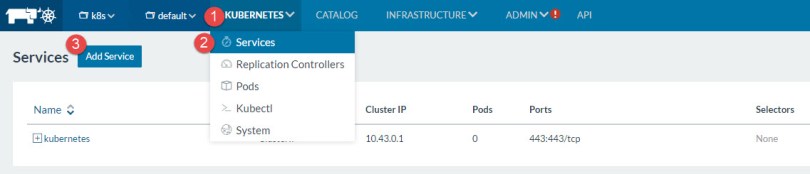
To create the service select:
- Kubernetes
- Services
- Add Service
Paste in the following and press Create:
kind: Service
apiVersion: v1
metadata:
name: “nginx-service”
spec:
selector:
app: nginx
ports:
– name: http
protocol: TCP
port: 80
targetPort: 80
externalIPs:
– “192.168.3.168”
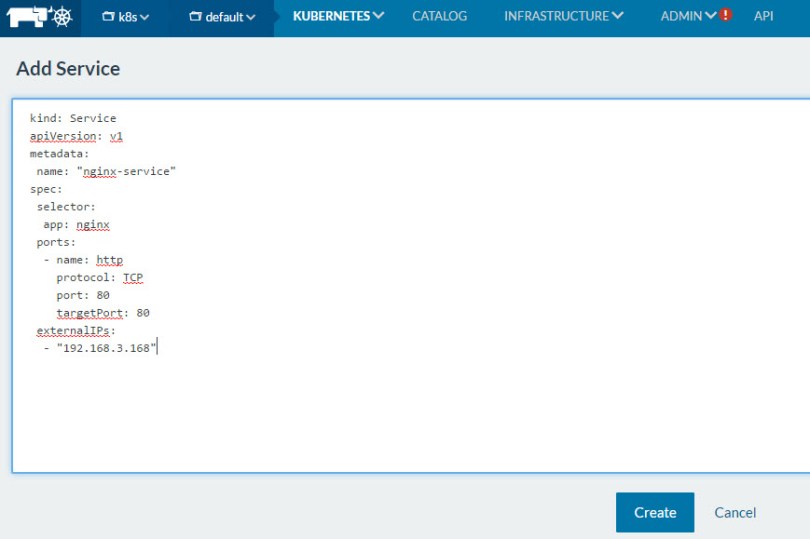
The IP 192.168.3.168 is the IP of the VM running the Rancher/Kubernetes services.
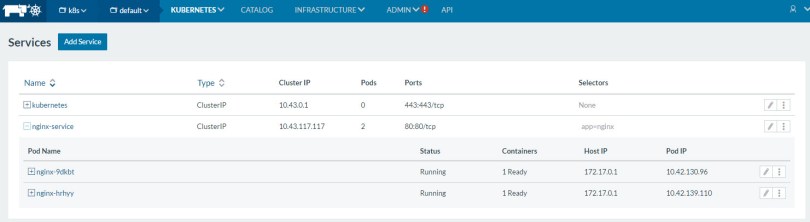
If we expand our nginx-service, we can see that it’s associated with the two nginx containers. How did it do this? It used the selector app: nginx defined in the service to find all containers with the label “app: nginx”. This is an important concept in Kubernetes.
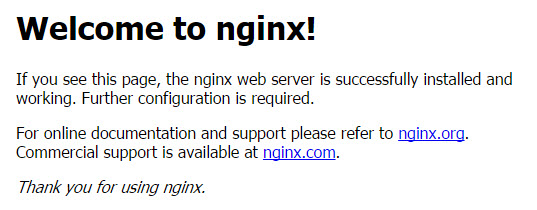
Now if I open a web browser and go to 192.168.3.168, I’ll see that nginx is running: