Starting with vRealize Automation 7.3 (vRA) there is native integration with Puppet. This means that there are now Puppet object within the vRA interface that you can drag and drop onto your blueprints as well as select Puppet constructs such as roles from dynamic drop down lists while building and deploying vRA blueprints. You can read the annoucement from Puppet here. Puppet has also provided some starter content to make getting up and running quick.
Versions used
- vRealize 7.3
- vCenter 6.5.0.5300
- Puppet vRealize Orchestrator (vRO) plug-in 3.0.0.31
- Puppet 2017.2.2
- CentOS Minimal 7.3
Install Puppet Enterprise Trial
We need to get Puppet Enterprise so go to https://puppet.com/download-puppet-enterprise, grab it for your platform and copy it to your Puppet machine.
If you don’t want to worry about the firewall, you can perform the following on the Puppet server.
- systemctl stop firewalld
- systemctl mask firewalld
- yum install -y iptables-services
- systemctl enable iptables
- iptables -F
- service iptables save
- reboot
Install Puppet by running the following commands:
- Copy the Puppet files to the Puppet server
- tar xzvf puppet-enterprise-2017.2.2-el-7-x86_64.tar.gz
- cd puppet-enterprise-2017.2.2-el-7-x86_64
- ./puppet-enterprise-installer
- <Enter>
You’ll then see the following:

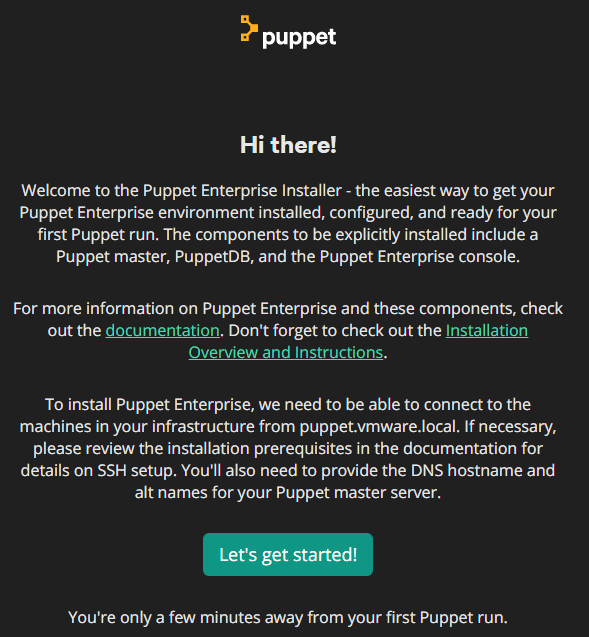
In a minute you’ll be prompted to continue the installation through a browser:

Once you hit the Puppet server you’ll see:
If you can’t access the Puppet install page, you may need to drop your firewall or open port 3000. You can quickly drop the firewall by running iptables -F
On the following page I made these selections, but you’ll need to specifiy whatever makes sense for your environment:
- Puppet master FQDN: puppet.vmware.local
- Puppet master DNS alias: puppet
- Install PostgreSQL on the Puppet master host for me
- Console ‘admin’ password: ****
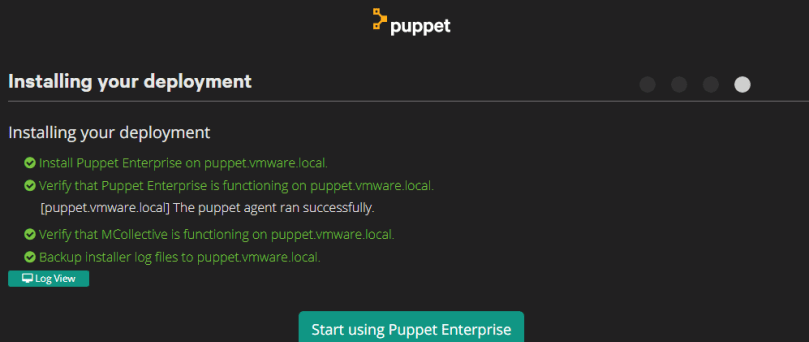
On the next pages, select Continue and then Deploy now. If everything goes well, you’ll see:
Were not going to do too much with the console in this guide but feel free to explore it.
Install the Puppet Content Starter Pack
The Puppet Content Starter Pack will allow us to get up and running with vRA and Puppet very quickly as it will configure a number of settings and create roles that we will consume in vRA. The Starter Pack is hosted on Github so we will need to install git if it’s not installed:
yum -y install git
Then run the following commands:
- git clone https://github.com/puppetlabs/puppet-vro-starter_content.git
- cd puppet-vro-starter_content
- bash scripts/vra_nc_setup.sh
- /opt/puppetlabs/bin/puppet agent -t
At the end you should get:

Install the Puppet vRO plug-in
You can grab the plug-in here. I’m using the embedded version of vRO in the vRA appliance. We need to access the control center, which is stopped by default, so access the console of the vRA appliance and run:
service vco-configurator start
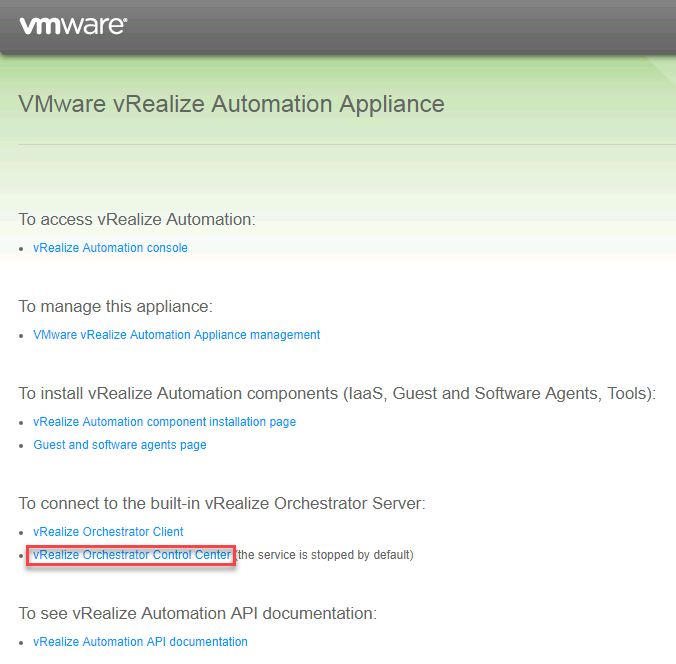
If you haven’t done this before, the above is not a typo. vRO was renamed from vCO and the service still has the old name. Open a web browser and go to the address of your vRA appliance (not the vRA application where you login) and select vRealize Orchestrator Control Center:
If you haven’t changed the logon, the username should be administrator@vsphere.local. Scroll down until you see Plug-ins:
Select Browse and browse to where you downloaded the Puppet vRO plug-in:

Select Install:

Should now see the plug-in:
I didn’t have to restart to get the plug-in to work but if you need to, you can run the following from the vRA appliance:
service vco-server restart
Add a vCenter instance in vRO
You need to have a vCenter instance in vRO for the vCenters that you plan to deploy machines to and have Puppet manage them. You need to do this because when you deploy a machine with vRA the Puppet integration will kick off a workflow to find the machine in vCenter so it can install the Puppet agent.
- Open the vRO client
- Browse to Library > vCenter > Configuration
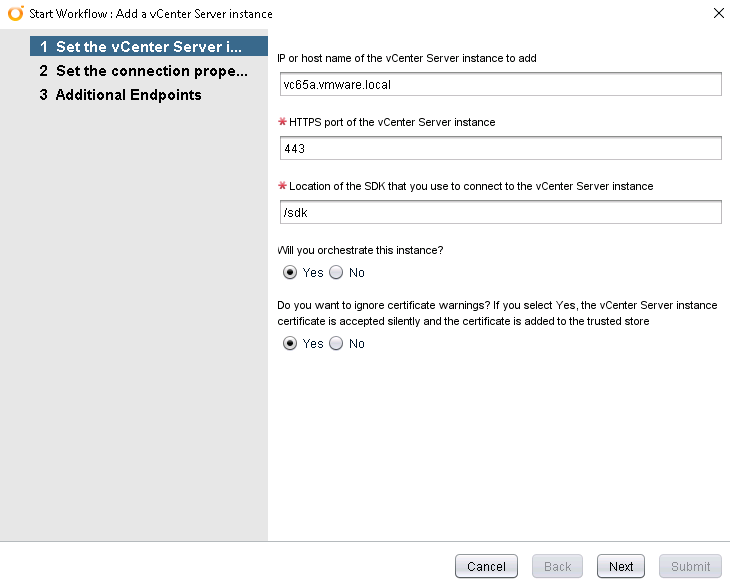
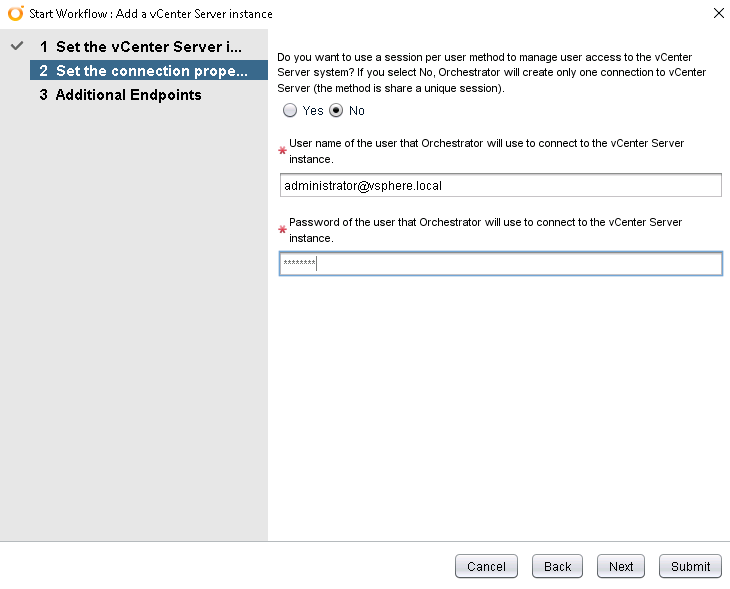
- Run Add a vCenter Server instance
Here is what my workflow run looked like:
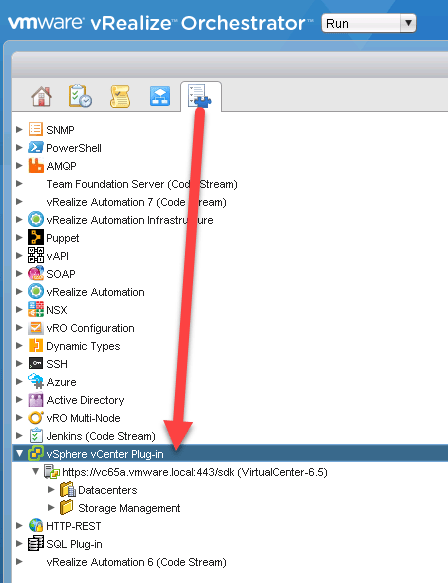
If the workflow executes successfully, select the Inventory tab and verify that you can browse your vCenter(s) inventory.
Create the vRA Puppet endpoint
We can create our Puppet endpoint in vRA by performing the following:
- Log into the vRA web page
- Navigate to Administration tab > vRO Configuration > Endpoints
- Select New
- Select the Puppet plug-in
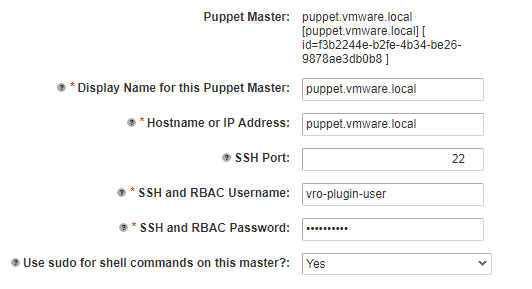
- Fill in the Puppet server details (password is puppetlabs)
Create vRA Blueprint
For this section, I’m going to assume that you know how to create blueprints and manage catalog items and entitlements so I’m not going to show steps for each of these.
- Create a new blueprint
- Drag a vSphere machine onto the canvas
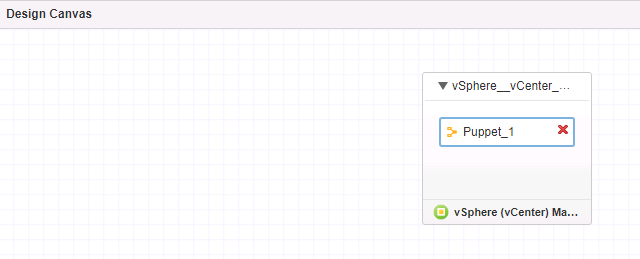
- Select Configuration Management and drag the Puppet icon onto the vSphere machine
The design canvas should look like this:
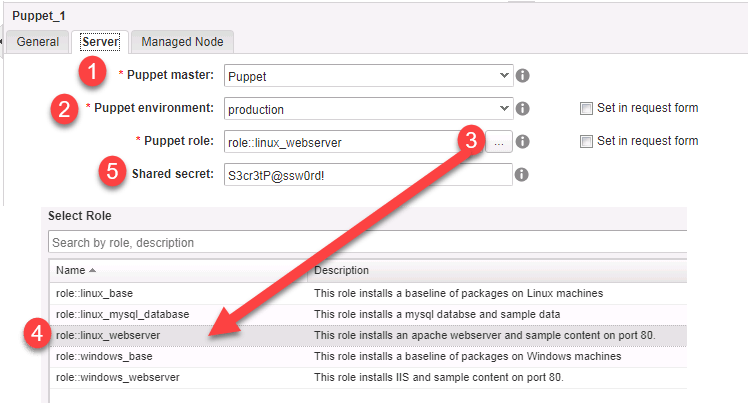
Select Puppet_1 and then the Server tab.
- Select your Puppet Master
- Select the Puppet environment
- Select the three dots to bring up the role selection menu
- Select role::linux_webserver
- Enter S3cr3tP@ssw0rd! for the Shared secret. This is used to auto-sign certificate request from vRA provisioned machines to Puppet. The Puppet Starter Content set this value on the Puppet server.
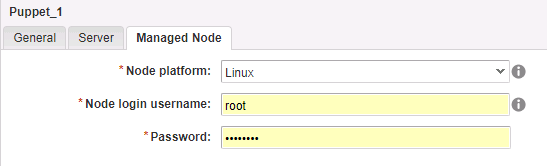
On the Managed Node tab set the following:
Save, publish and configure the catalog item so it’s available for use.
Provision the blueprint
Since I didn’t enable any user enable runtime options, there isn’t anything to do here but submit:
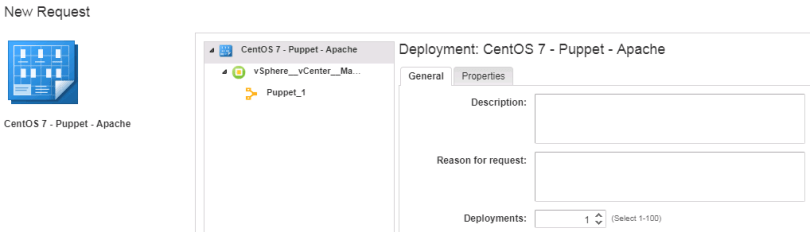
Here is what a successful provision looks like on the request’s Execution Information tab:
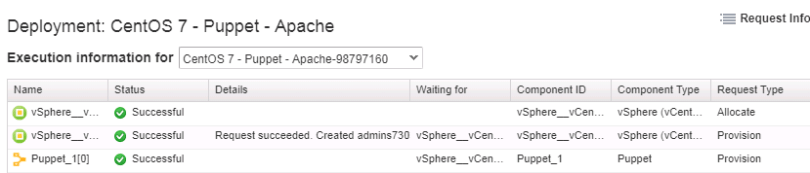
Grab the IP address of the provisioned machine and access it through a web browser and you should the Puppet Apache default web page:

If anything fails on the Puppet step or if you’re just interested, you can run the following command on the vRA server to monitor the vRO activity:
tail -f /var/log/vmware/vco/app-server/scripting.log
